

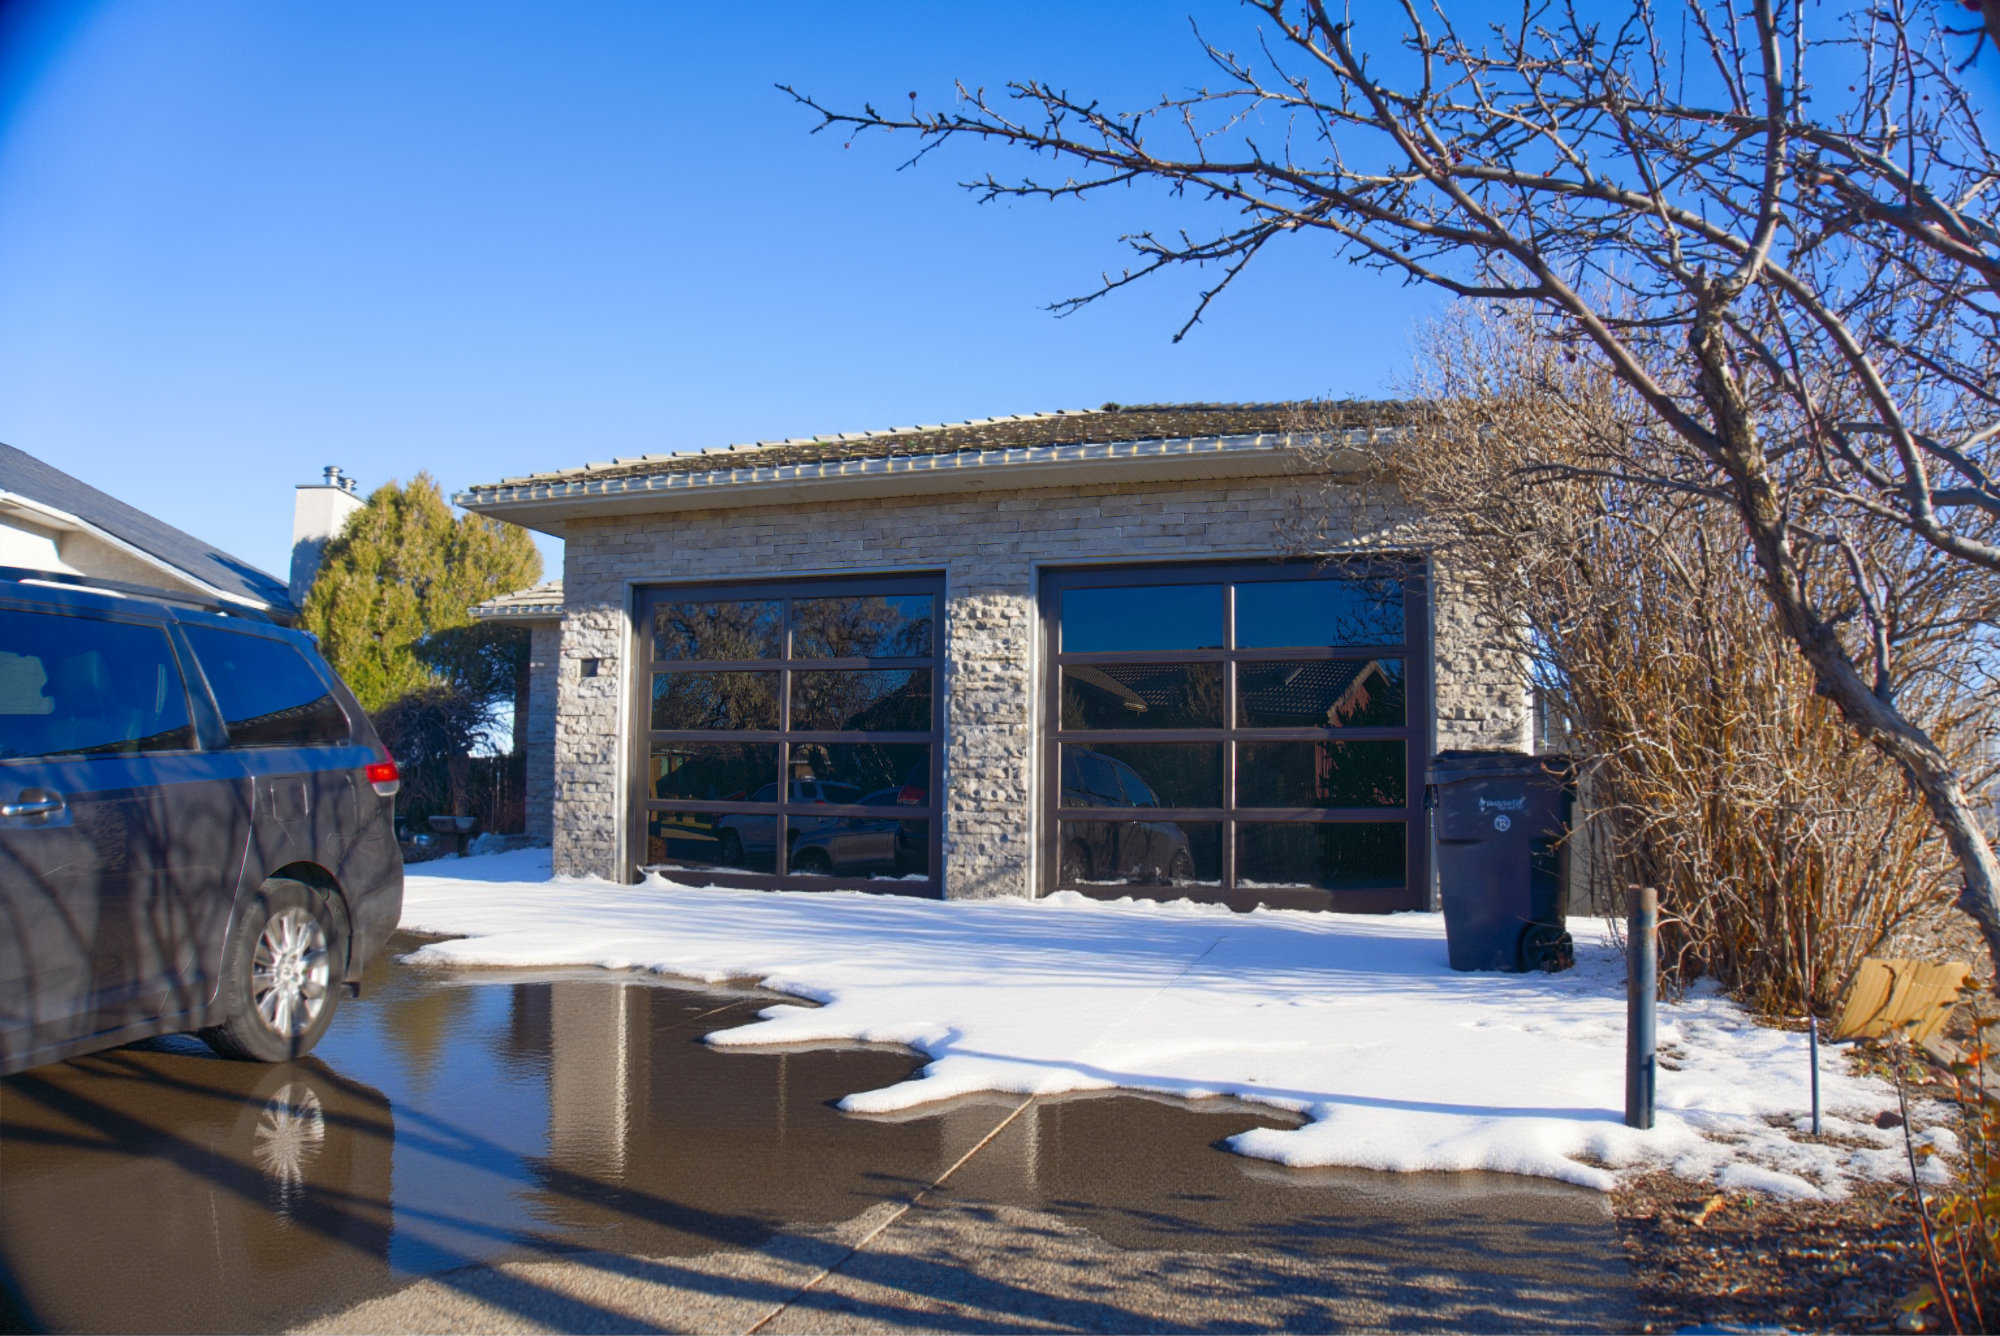
As the cold weather creeps into Southern Alberta and Saskatchewan, homeowners need to be proactive in maintaining their garage doors. With temperatures dropping significantly in the region, the risk of mechanical failures increases.
In fact, garage door repair services see a 25% rise in calls during the colder months.
Having served the community for over 30 years, we’ve seen firsthand how neglecting seasonal maintenance can lead to expensive, avoidable repairs. From brittle springs to frozen door mechanisms, cold weather wreaks havoc on garage doors if they’re not properly cared for. This guide provides a straightforward, actionable checklist to ensure your garage door stays in peak condition throughout the fall and winter.
Why Fall Maintenance Is Crucial for Garage Doors in Cold Climates
Preparing your garage door for fall isn't just about preventing costly repairs; it's about ensuring the safety and efficiency of your home as temperatures drop. Here’s why:
- Prevention of Mechanical Failures: Cold weather can cause springs to become brittle and break, leading to doors that don’t open properly.
- Energy Efficiency: Proper weather stripping and maintenance keep cold air out, reducing heating bills by up to 10%.
- Avoidance of Emergency Repairs: No one wants to be stuck with a frozen garage door in the dead of winter. Preventative maintenance reduces the chances of being caught off-guard by harsh weather conditions.
Common Cold Weather Garage Door Problems in Southern Alberta and Saskatchewan
Even with regular use, garage doors in colder regions face unique challenges. Here are the most common problems caused by winter weather and how to fix them.

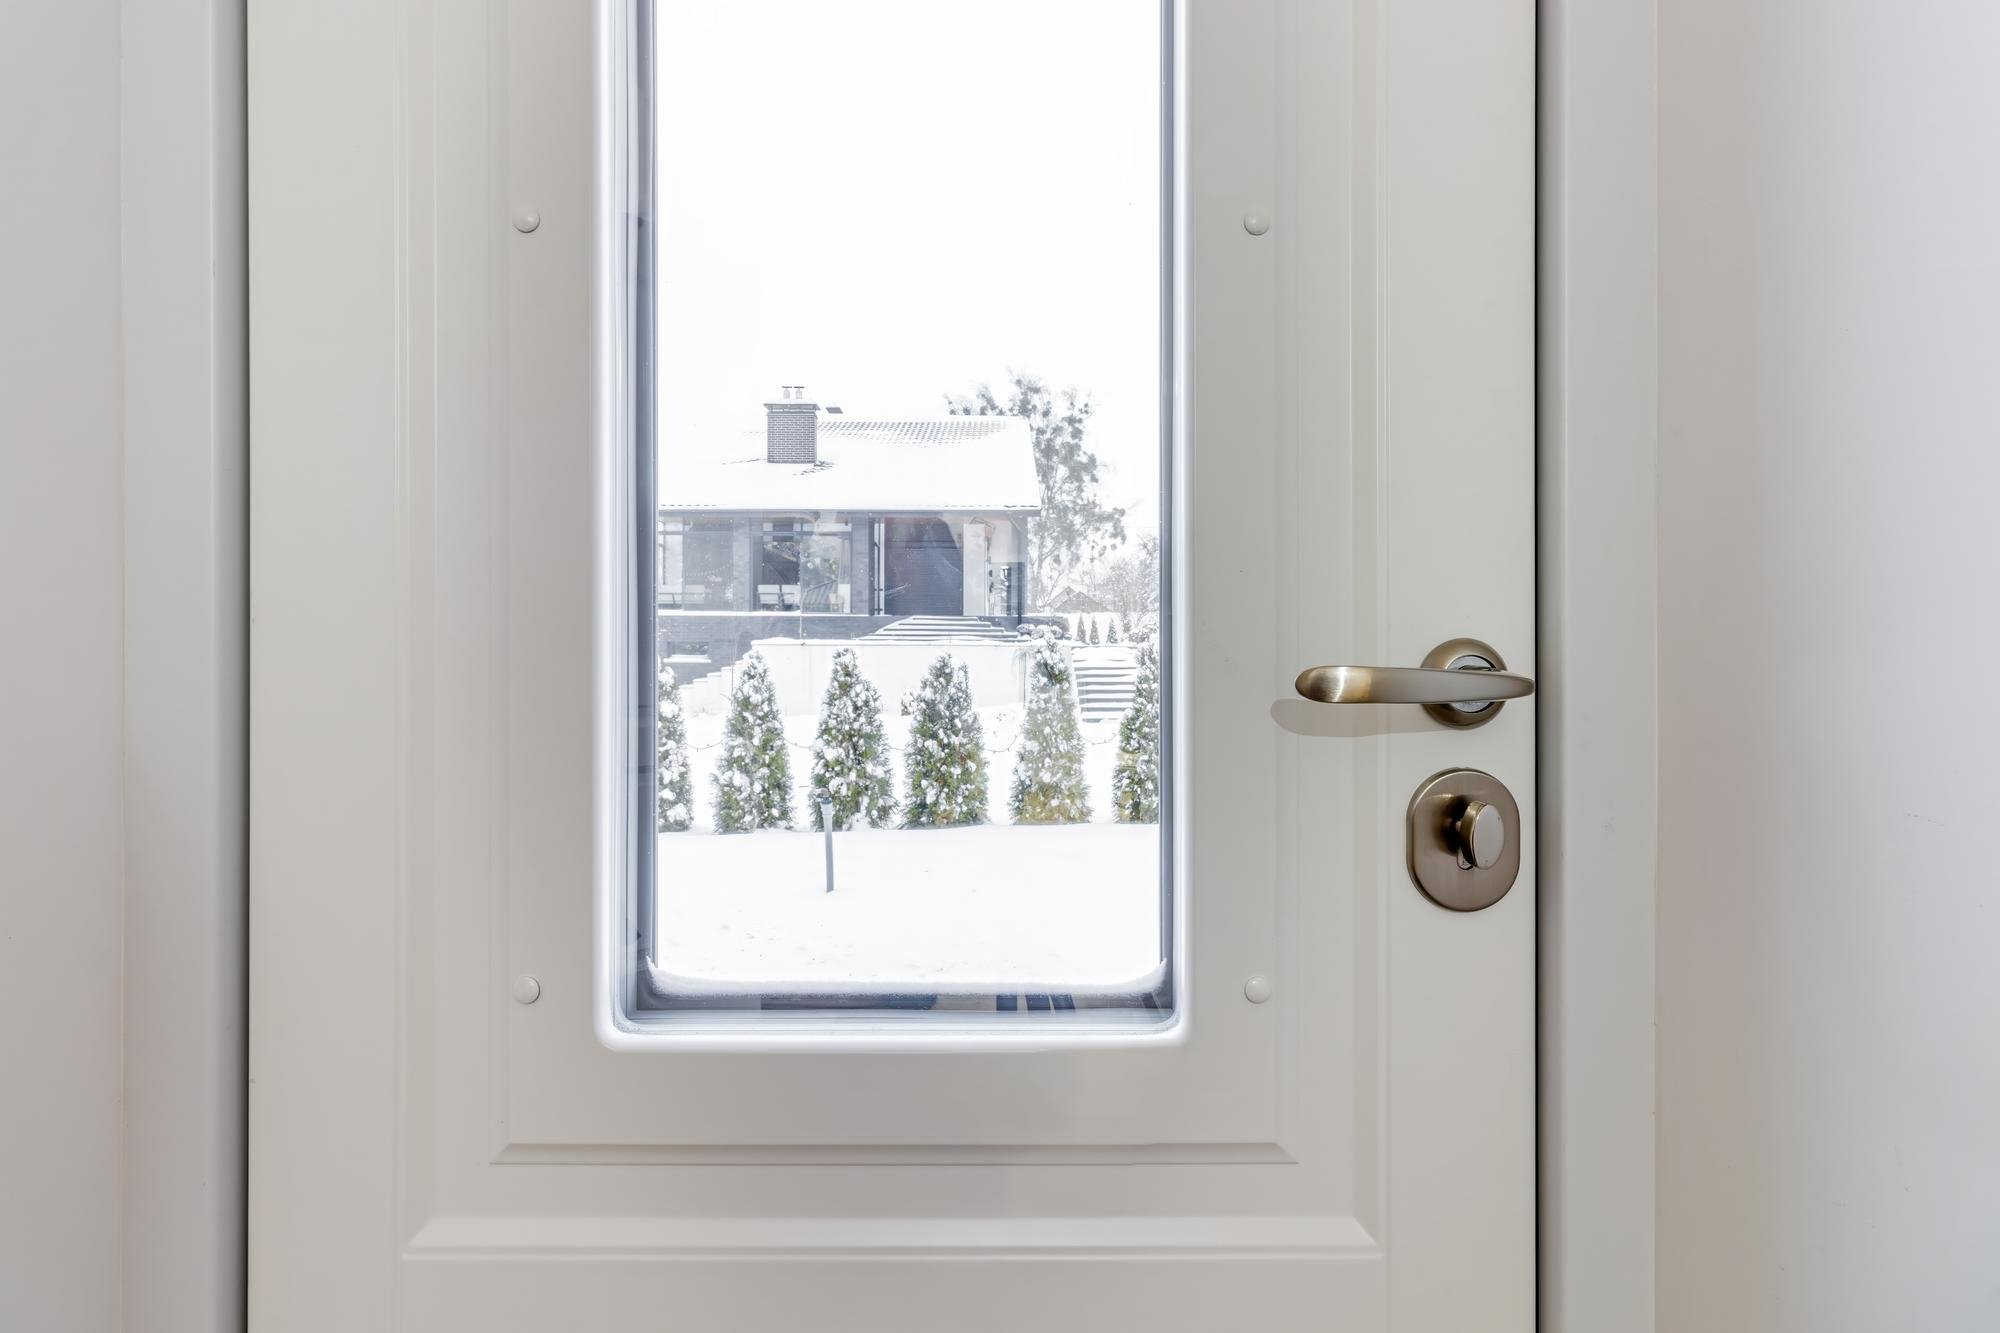
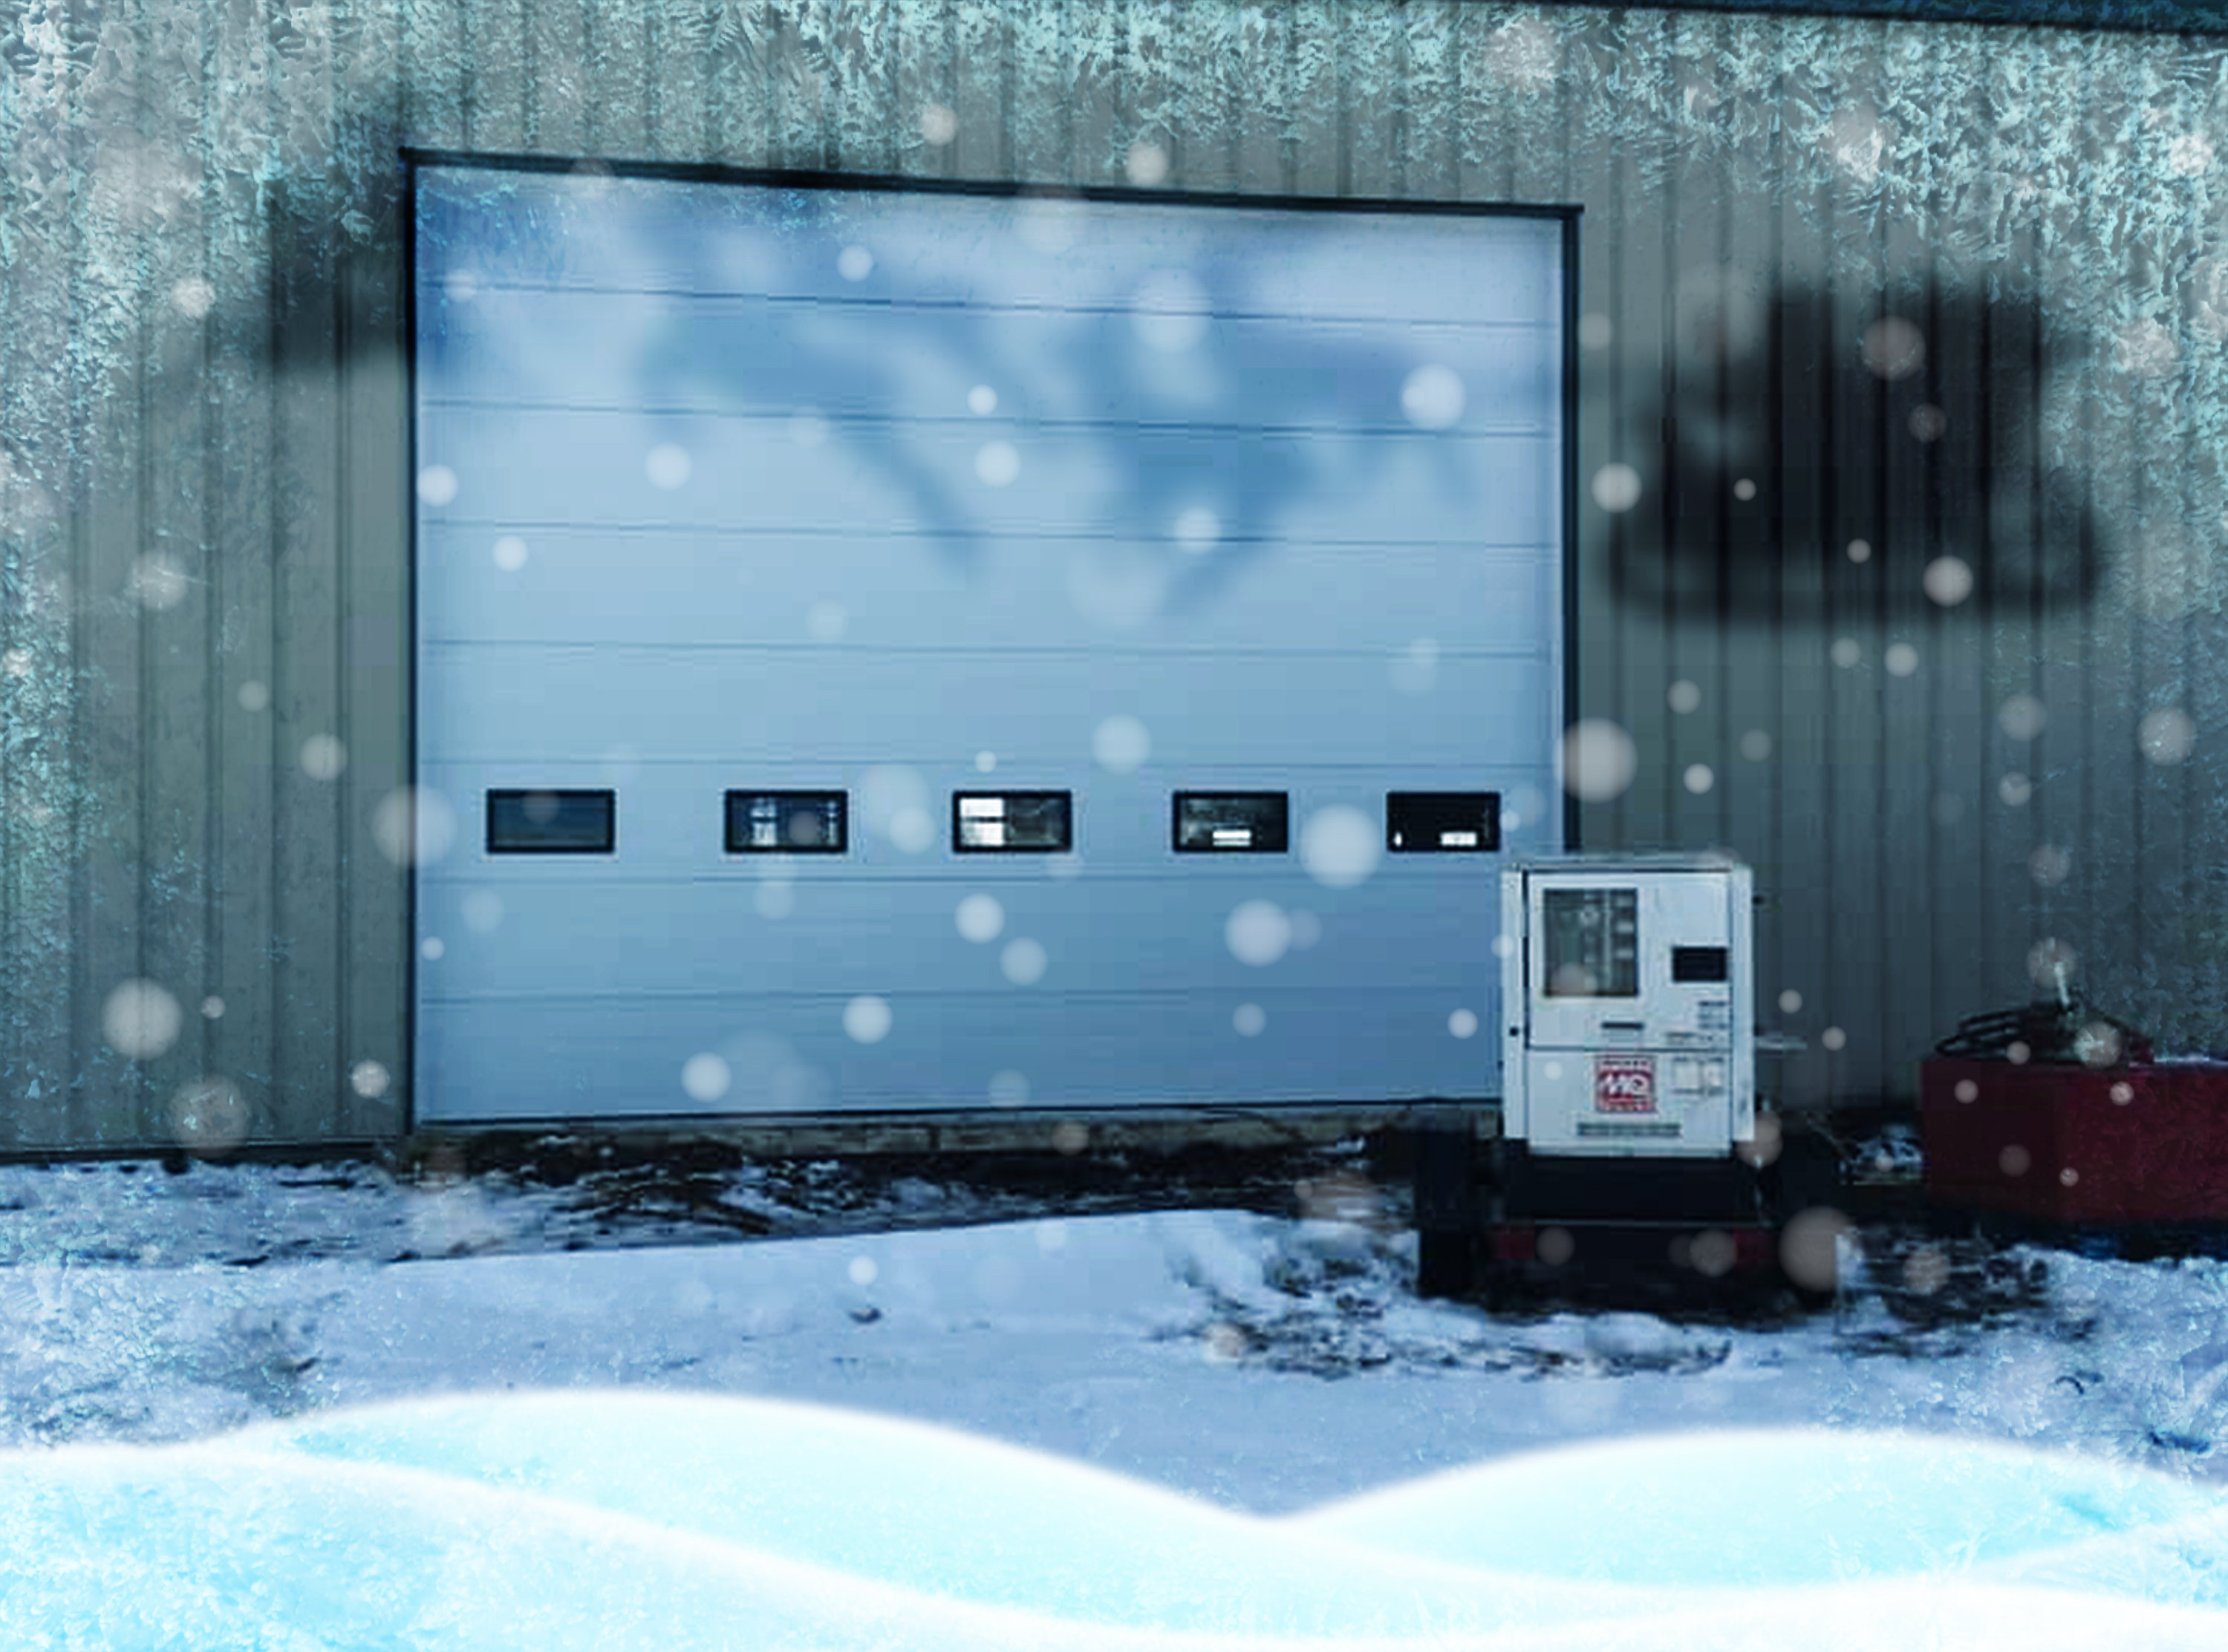
Frozen Garage Doors
In colder climates, moisture around the bottom of your garage door can freeze, locking it in place. While chipping away the ice or using warm water can temporarily fix the problem, repeated freezing and thawing will cause damage to the weather stripping and other components over time.
DIY Fix: Clear snow and ice from around the door, but avoid forcing it open as this can tear the weather stripping.
Why You Need a Pro: A professional can inspect for hidden damage to the weather stripping and ensure that moisture isn’t seeping into the tracks, which could cause further damage later on.
Hardened Lubricants
During winter, the lubricants applied to your garage door tracks and rollers can harden due to the low temperatures. This makes it harder for the door to roll smoothly, leading to jerky movements or even causing the door to become stuck.
DIY Fix: Clean the tracks with a grease solvent and reapply a silicone-based lubricant. Avoid using common lubricants like WD-40, as they aren’t designed for cold weather.
Why You Need a Pro: A professional can properly remove old lubricant, inspect the rollers for wear, and apply the correct type and amount of silicone lubricant to ensure the door operates smoothly in cold weather.
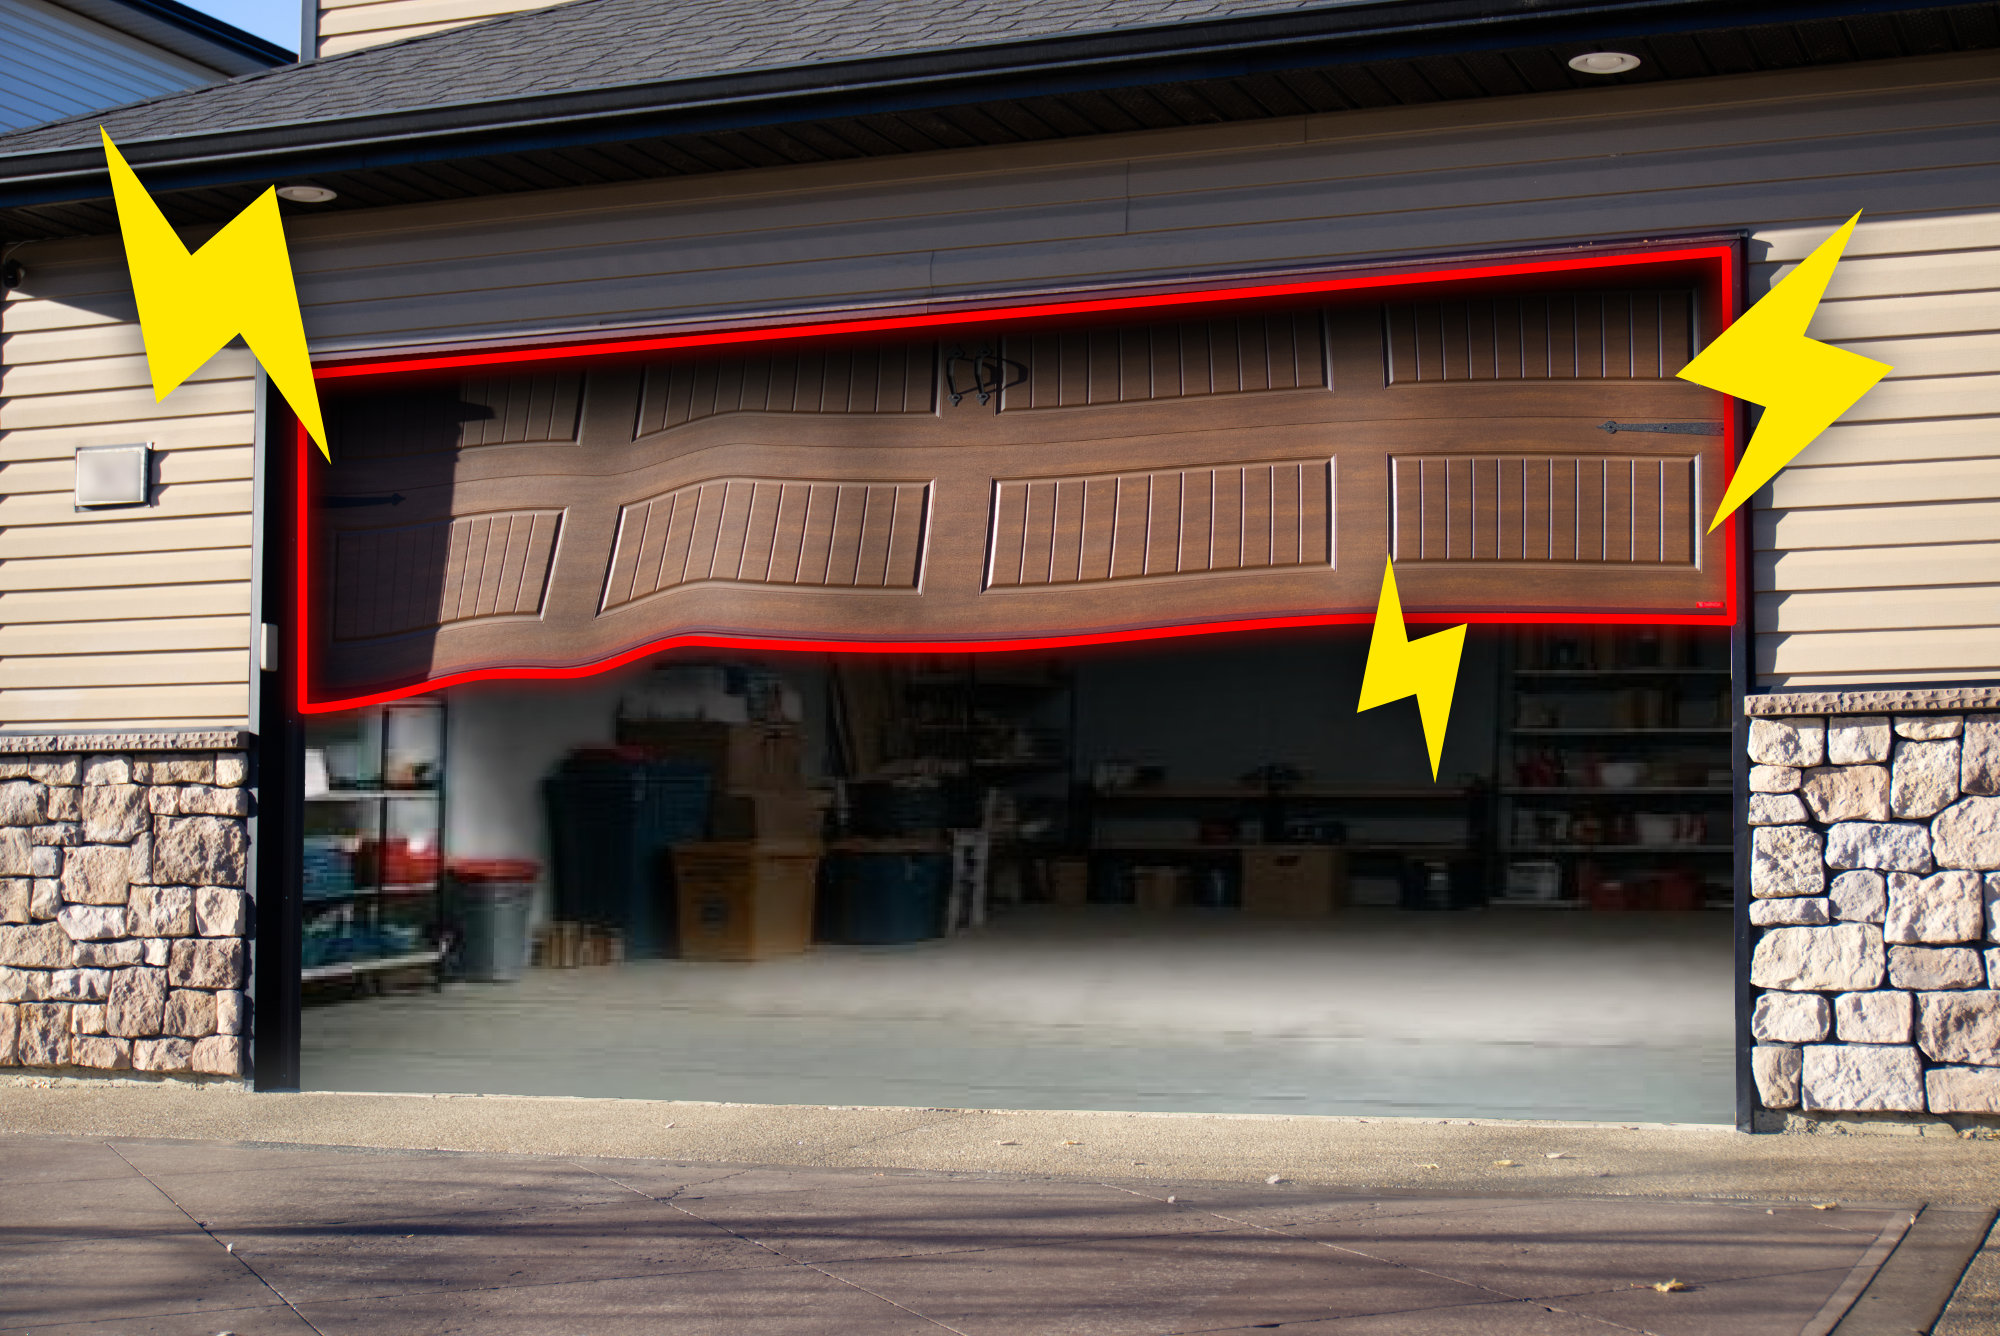
Brittle Garage Door Springs
Cold weather weakens garage door springs over time, making them prone to snapping under pressure. This can make your garage door feel significantly heavier when manually lifted.
DIY Fix: Clean the tracks with a grease solvent and reapply a silicone-based lubricant. Avoid using common lubricants like WD-40, as they aren’t designed for cold weather(
Why You Need a Pro: A professional can properly remove old lubricant, inspect the rollers for wear, and apply the correct type and amount of silicone lubricant to ensure the door operates smoothly in cold weather.
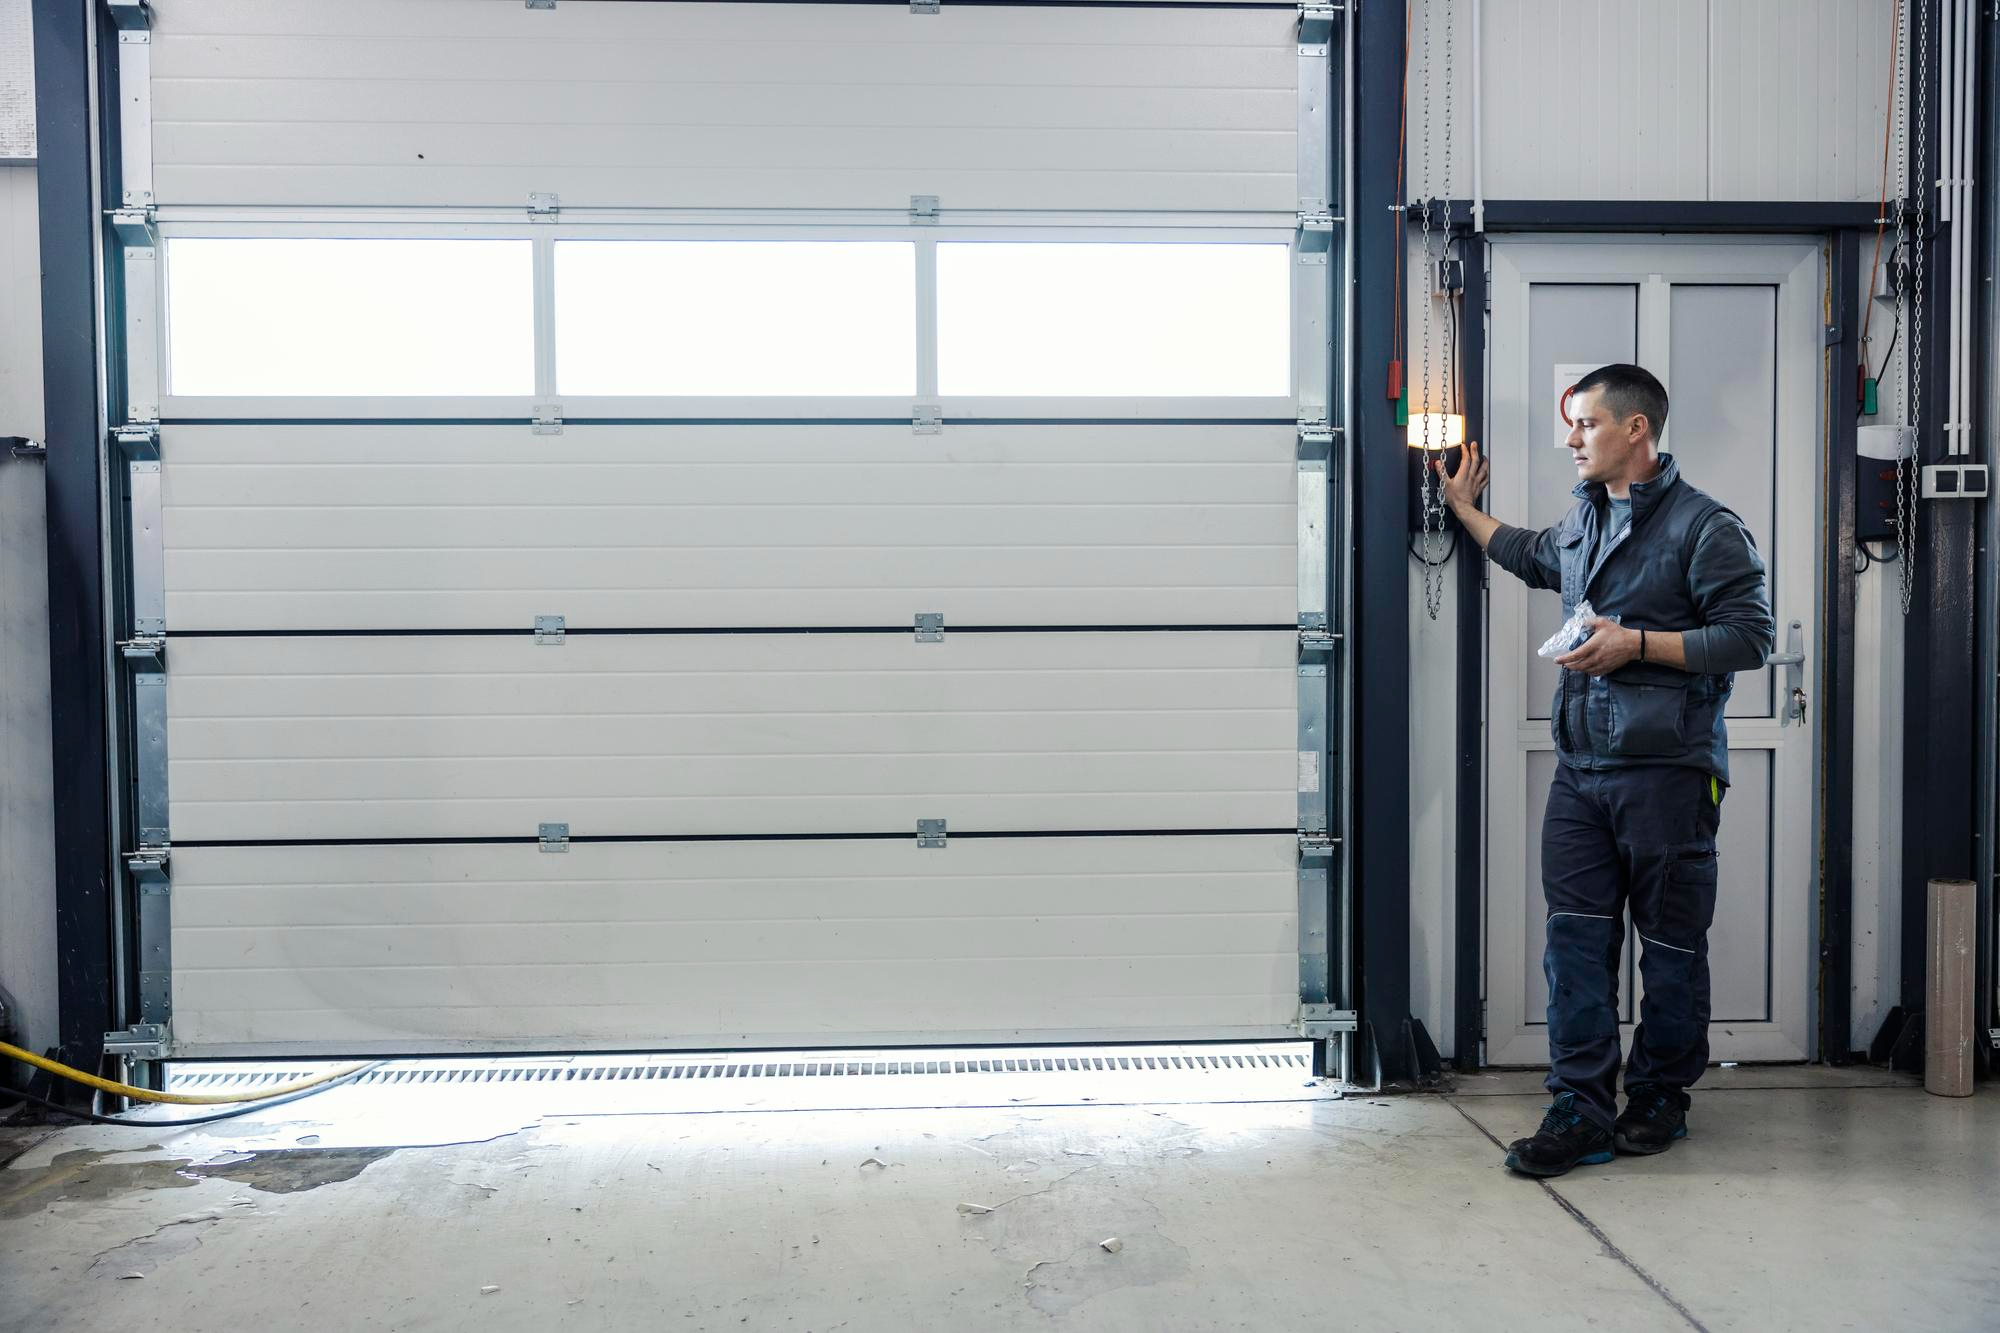
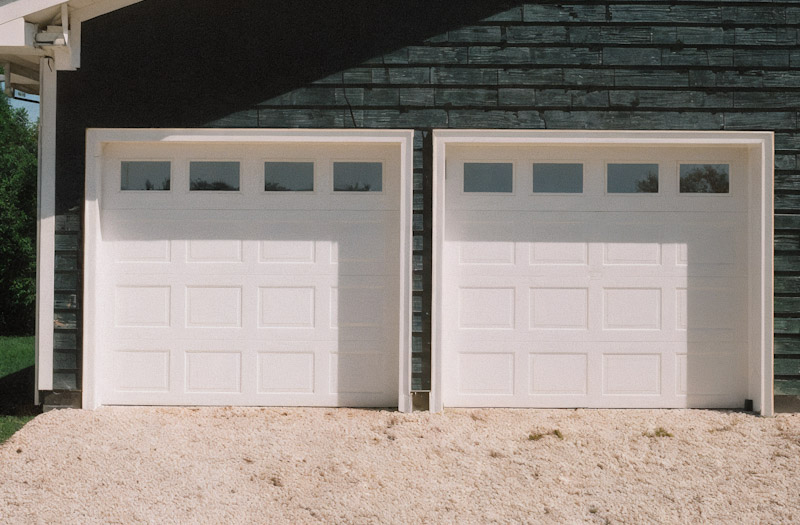
7-Step Fall Garage Door Maintenance Checklist
This checklist provides key steps to keep your garage door functioning smoothly as colder weather approaches. These preventive measures will help minimize potential problems during winter, but some tasks are best left to a professional to ensure your door remains safe and reliable. Follow these steps to handle the basics, but don’t skip the final and most important step: scheduling a professional tune-up for a thorough inspection.
Step 1: Inspect the Weather Stripping
- What to do: Look at the rubber seal along the bottom of your garage door.
- Signs to watch for: If it’s cracked, worn, or letting air or light through, it needs to be replaced.
- Why it matters: Damaged weather stripping allows cold air, moisture, and pests into your garage, raising energy costs and causing internal damage.
Step 2: Lubricate the Moving Parts
- What to do: Apply a silicone-based lubricant to the door’s rollers, hinges, and tracks.
- Signs to watch for: If the door moves jerkily, squeaks, or feels stiff, it’s a sign that the parts need lubrication.
- Why it matters: Keeping parts lubricated helps prevent wear, reduces noise, and keeps the door running smoothly, especially in cold weather.
Step 3: Check for Balance
- What to do: Disconnect the door from the opener and lift it halfway by hand. It should stay in place without falling or rising.
- Signs to watch for: If the door moves up or down on its own, it’s out of balance and could strain the opener.
- Why it matters: A balanced door ensures the opener doesn't work too hard, prolonging its life.
Step 4: Tighten the Hardware
- What to do: Use a wrench to tighten bolts and screws on the brackets, hinges, and roller tracks.
- Signs to watch for: Listen for rattling noises when the door moves—this could mean loose hardware.
- Why it matters: Loose hardware can cause misalignment and damage over time if not properly tightened.
Step 5: Clean the Tracks
- What to do: Wipe down the tracks with a damp cloth to remove dirt and debris.
- Signs to watch for: If the door hesitates or sticks in certain areas when opening or closing, there could be debris in the tracks.
- Why it matters: Clean tracks allow smooth movement and prevent the door from getting stuck.
Step 6: Test the Auto-Reverse Safety Feature
- What to do: Place a small object like a block of wood under the door. Close the door and see if it automatically reverses upon contact.
- Signs to watch for: If the door doesn’t reverse when it touches the object, the sensors need adjustment or replacement.
- Why it matters: The auto-reverse feature is essential for safety, preventing accidents and damage to your property.
Step 7: Inspect and Test the Springs
- What to do: Check the springs for any signs of rust, wear, or brittleness. Lift the door manually to check its balance.
- Signs to watch for: If the door feels heavy or if the springs look worn or broken, they may need replacement.
- Why it matters: Springs are under high tension and can break, causing the door to become difficult or dangerous to open.
Final Tip: Schedule a Professional Tune-Up
While you can handle most of these steps yourself, it’s always a good idea to have a professional inspect your garage door before winter hits. They can catch hidden issues early and prevent costly repairs down the road.
Protect Your Home and Garage Door This Winter
Don't wait for a breakdown in the middle of a cold snap! While the checklist is a great start, professional maintenance is key to preventing expensive repairs and ensuring safety during the winter.
Contact us today to schedule a comprehensive tune-up before the winter hits. With our 30 years of experience and a 5-star rating from satisfied clients, you can trust us to get the job done right.
Call us at 403-952-6127 or book online to secure your garage door's winter readiness.

.jpeg)


.jpg)
.jpg)
.jpg)


.jpg)


.jpg)


.webp)


